Workflow Builder
Overview
The Workflow Builder in AutomateNexus CRM is a powerful automation engine that allows you to design, configure, and deploy automated workflows to streamline your business processes. From simple task assignments to complex multi-step sequences involving emails, notifications, field updates, and webhook integrations, the Workflow Builder eliminates repetitive manual work and ensures consistency across your operations.
With the Workflow Builder, you can automate lead nurturing, deal progression, customer onboarding, internal notifications, and much more. Each workflow consists of a trigger, optional condition nodes, and one or more action nodes connected together in a logical sequence.
Prerequisites
- An active AutomateNexus CRM account with an Admin or Manager role
- Access to the Automation Center module (ensure your role permissions include Automation access)
- Familiarity with the records you plan to automate (contacts, deals, tasks, etc.)
- Any email templates or task templates you intend to use should be created in advance
Accessing the Workflow Builder
Step 1: Navigate to the Automation Center
From the main navigation sidebar, click on Automation Center. This section houses all automation-related tools including workflows, sequences, and scheduled jobs.
Step 2: Open the Workflows Section
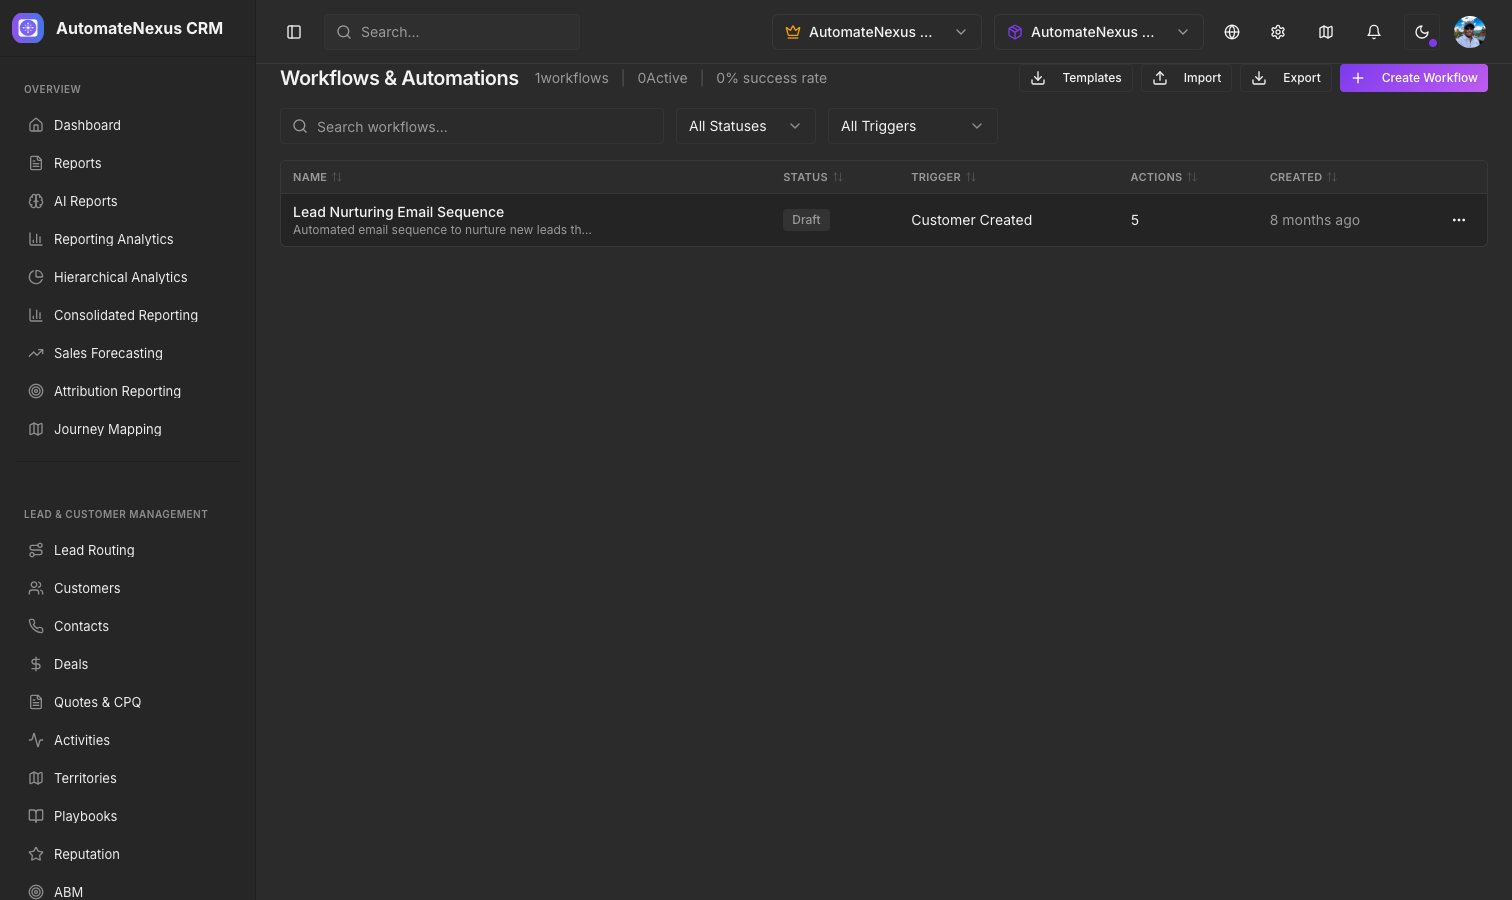
Within the Automation Center, select Workflows from the sub-navigation menu. You will see a dashboard listing all existing workflows along with their status (Active, Inactive, or Draft), last execution date, and total run count.
Step 3: Create a New Workflow
Click the + New Workflow button in the upper-right corner. A dialog will appear prompting you to enter a workflow name and optional description. Choose a descriptive name such as "New Lead Assignment" or "Deal Closed Follow-Up" so your team can easily identify it later. Click Create to open the Workflow Builder canvas.
What you will see: The Workflow Builder canvas is a visual editor with a grid background. On the left side is the node palette containing trigger, condition, and action nodes. The center area is the canvas where you drag and connect nodes. The top toolbar provides options to save, test, enable, and view execution history.
Trigger Types
Every workflow begins with a trigger node. The trigger defines what event or condition initiates the workflow. AutomateNexus CRM supports three categories of triggers:
Time-Based Triggers
Time-based triggers execute the workflow on a schedule or after a specific time delay. Use these for recurring processes or time-sensitive follow-ups.
- Scheduled (Cron): Run the workflow at fixed intervals such as daily at 9:00 AM, every Monday, or on the first of each month. Configure the schedule using the built-in cron editor, which provides both a visual selector and an advanced cron expression field.
- Date Field Trigger: Fire the workflow relative to a date field on a record. For example, trigger a reminder email 3 days before a contract renewal date or 1 week after a deal was created.
- Delay After Event: Start a countdown after another event occurs. For example, send a follow-up email 48 hours after a form submission.
Event-Based Triggers
Event-based triggers respond to actions taken within the CRM in real time.
- Record Created: Fires when a new record is created in a specified module (contact, deal, task, company, etc.).
- Record Updated: Fires when a specific field on a record changes. You can narrow this to particular fields such as "Deal Stage" or "Lead Status."
- Record Deleted: Fires when a record is removed from the system.
- Form Submitted: Fires when a web form connected to AutomateNexus receives a submission.
- Email Event: Fires when a tracked email is opened, clicked, replied to, or bounces.
- Pipeline Stage Change: Fires when a deal moves from one pipeline stage to another.
Manual Triggers
Manual triggers allow users to initiate a workflow on demand from a record detail view or list view. This is useful for one-off processes such as generating a quote or sending an ad-hoc onboarding package. To configure, select Manual Trigger and specify which modules the trigger should appear on.
Condition Nodes
Condition nodes allow you to add decision logic to your workflow, creating branching paths based on data criteria.
If/Else Conditions
The If/Else node evaluates a set of criteria and routes the workflow down the appropriate branch. Click the If/Else node to open the condition editor, where you can define rules such as:
- "If Deal Value is greater than $10,000" then follow the high-value branch
- "If Lead Source equals Webinar" then assign to the webinar sales team
- "If Contact Region is Europe" then apply GDPR-compliant communication rules
You can add multiple conditions using AND/OR logic. Each branch can lead to different action nodes or additional condition nodes, enabling complex decision trees.
Filters
Filter nodes narrow down the records a workflow processes. For example, if a workflow is triggered by any new contact, a filter node can restrict processing to only contacts with a valid email address, or contacts from a specific industry.
Branching
For workflows that require more than two paths, use the Multi-Branch node. This node supports up to 10 parallel branches, each with its own set of conditions. A default "else" branch catches any records that do not match the defined conditions.
Action Nodes
Action nodes perform the actual work in your workflow. AutomateNexus CRM provides a wide variety of action types:
Send Email
Send a personalized email to the contact, deal owner, or a custom recipient. Select an existing email template or compose inline. Personalization tokens such as {{contact.first_name}}, {{deal.name}}, and {{company.name}} are supported. You can configure the sender address, reply-to, CC, and BCC fields.
Create Task
Automatically generate a task and assign it to a specific user, the record owner, or a round-robin queue. Set the task title, description, due date (absolute or relative, e.g., "3 days from now"), and priority level.
Update Field
Modify any field on the triggering record or a related record. Common uses include updating a lead status to "Qualified," setting a deal stage, or stamping a "Last Contacted" date. You can update multiple fields in a single node.
Notify Team
Send an in-app notification, Slack message, or Microsoft Teams message to a user or channel. Configure the notification content using personalization tokens and specify the delivery channel.
Webhook
Send an HTTP request to an external URL. Configure the method (GET, POST, PUT, DELETE), headers, and JSON body. Use webhooks to integrate with third-party systems, trigger external automations, or push data to a data warehouse. You can map response data back into CRM fields using the response mapping editor.
Additional Action Types
- Create Record: Create a new record in any module (e.g., create a deal when a lead is qualified).
- Add to List: Add the contact to a static or dynamic list for segmentation.
- Assign Owner: Change the record owner using round-robin, territory rules, or a specific user assignment.
- Wait/Delay: Pause the workflow for a specified duration before proceeding to the next node.
- End Workflow: Explicitly terminate the workflow at a certain branch.
Connecting Nodes
To connect nodes on the canvas, hover over the output port (small circle) on the bottom or right side of a node. Click and drag a connector line to the input port on the target node. Connectors snap into place automatically. To remove a connection, click on the connector line and press Delete or click the trash icon that appears.
Nodes execute in the order defined by the connections. Parallel branches execute simultaneously. You can rearrange nodes by dragging them on the canvas, and the connector lines will adjust dynamically.
Testing Workflows
Using Test Mode
Before enabling a workflow for live use, click the Test button in the top toolbar. The Test Mode panel will open on the right side, prompting you to select a sample record. The workflow will execute against this record in a sandboxed environment where no actual emails are sent, no records are modified, and no webhooks fire against production endpoints.
Reviewing Test Results
After a test run completes, the canvas highlights each node in green (success) or red (failure). Click on any node to view detailed execution data including input values, output values, and any error messages. This allows you to validate your conditions and ensure actions produce the expected results.
Test with Live Actions
If you need to test with real actions (e.g., verify that an email renders correctly), use the Test Live option. This sends actual emails and modifies records, so use it with caution and preferably on test data.
Enabling and Disabling Workflows
When your workflow is ready for production, click the Enable toggle in the top toolbar. The workflow status changes to Active and it begins processing triggers immediately. To pause a workflow, toggle it to Disabled. Disabling a workflow stops it from processing new triggers but does not cancel any currently running executions.
You can also enable or disable workflows from the Workflows dashboard using the status toggle in the list view, or perform bulk enable/disable operations by selecting multiple workflows.
Workflow Templates
AutomateNexus CRM includes a library of pre-built workflow templates for common business processes. To use a template, click + New Workflow and select Start from Template. Browse or search the template gallery, which includes:
- Lead Assignment: Automatically assign new leads based on territory, source, or round-robin rules.
- Deal Stage Follow-Up: Send automated emails when deals move through pipeline stages.
- Customer Onboarding: Create a series of tasks and emails to guide new customers through onboarding.
- Re-Engagement Campaign: Identify inactive contacts and trigger a re-engagement email sequence.
- Contract Renewal Reminder: Notify account managers and contacts before contract expiration dates.
Each template is fully customizable. After selecting a template, you can modify triggers, conditions, actions, and content to match your specific requirements.
Execution History and Logs
Viewing Execution History
Click the History tab in the Workflow Builder or navigate to Automation Center → Workflows → [Workflow Name] → Execution History. The history view displays a chronological list of every workflow execution including start time, end time, duration, status (Completed, Failed, In Progress), and the triggering record.
Execution Details
Click on any execution entry to view a step-by-step breakdown. Each node shows its execution status, input data, output data, and timestamps. For failed nodes, the error message and stack trace are displayed to help with debugging.
Filtering and Exporting Logs
Use the filter controls to narrow execution history by date range, status, or triggering record type. You can export execution logs as a CSV file for further analysis or auditing purposes.
Error Handling
Built-In Retry Logic
When an action node fails (e.g., a webhook times out or an email fails to send), AutomateNexus CRM automatically retries the action up to 3 times with exponential backoff (30 seconds, 2 minutes, 10 minutes). You can customize the retry count and intervals in the node settings.
Error Branches
Each action node has an optional error output port. Connect this to a fallback action such as notifying an administrator, logging the error to a custom field, or routing the record to a manual review queue. This ensures no records fall through the cracks due to transient failures.
Global Error Notifications
In Automation Center → Settings → Notifications, configure global error alerts. You can choose to receive email or Slack notifications whenever any workflow fails, with options to set thresholds (e.g., notify only if more than 5 failures occur within an hour).
Best Practices
- Name workflows descriptively: Use clear, consistent naming conventions like "[Module] - [Trigger] - [Action]" (e.g., "Deal - Stage Changed - Send Follow-Up Email").
- Start simple: Build and test a minimal workflow first, then add complexity incrementally.
- Use filters early: Place condition and filter nodes near the beginning of your workflow to avoid unnecessary processing.
- Document your workflows: Add descriptions to each node explaining its purpose. Use the workflow description field to summarize the business process.
- Monitor execution history regularly: Check for failed executions at least weekly and address recurring errors promptly.
- Avoid infinite loops: Be cautious with "Record Updated" triggers that also update records, as this can create circular execution. Use the built-in loop detection or add a condition to check if the update was made by the workflow.
- Test with production-like data: Use sample records that closely resemble your real data to catch edge cases during testing.
- Limit concurrent executions: For high-volume triggers, configure concurrency limits in the workflow settings to prevent system overload.
Troubleshooting Common Issues
| Issue | Possible Cause | Solution |
|---|---|---|
| Workflow does not trigger | Workflow is in Draft or Disabled status | Ensure the workflow is set to Active via the Enable toggle |
| Email not sent | Contact has no valid email address | Add a condition node to verify the email field is not empty before the Send Email action |
| Webhook returns error | Incorrect URL or authentication | Verify the endpoint URL, headers, and payload format in the webhook node settings |
| Duplicate executions | Multiple triggers matching the same event | Review trigger conditions and add deduplication filters or use execution locks |
| Conditions not matching | Data type mismatch or unexpected field values | Use Test Mode to inspect actual field values at each node and correct condition criteria |
Related Articles
- NexusFlow Visual Automation — Learn about the advanced visual automation canvas for building complex flows
- Email Marketing and Campaigns — Set up automated email campaigns and drip sequences